
01 · Explore the scene
Read the scene.
Watch the grizzly move, look at the light and put your focus on its eye.
1/250 s · f/11 · ISO 400
Try photographing a moose or grizzly on screen. Change the shutter speed, aperture, ISO or focus, then compare your shots before your trip.
Included with the $9.99 Wildlife Planner for Yellowstone and Grand Teton.
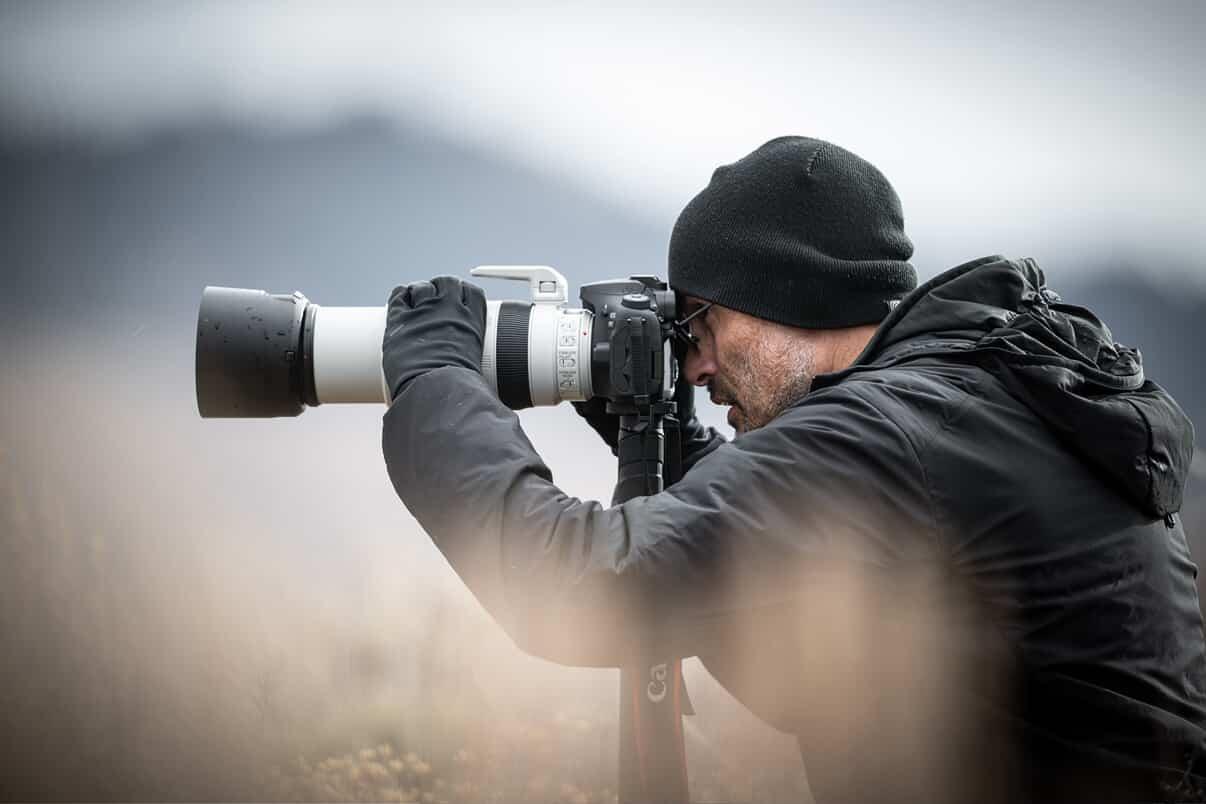
Inside the camera game
Watch the grizzly move, look at the light and put your focus on its eye.
1/250 s · f/11 · ISO 400Pick a shutter speed for the movement you see. Adjust aperture and ISO for the light.
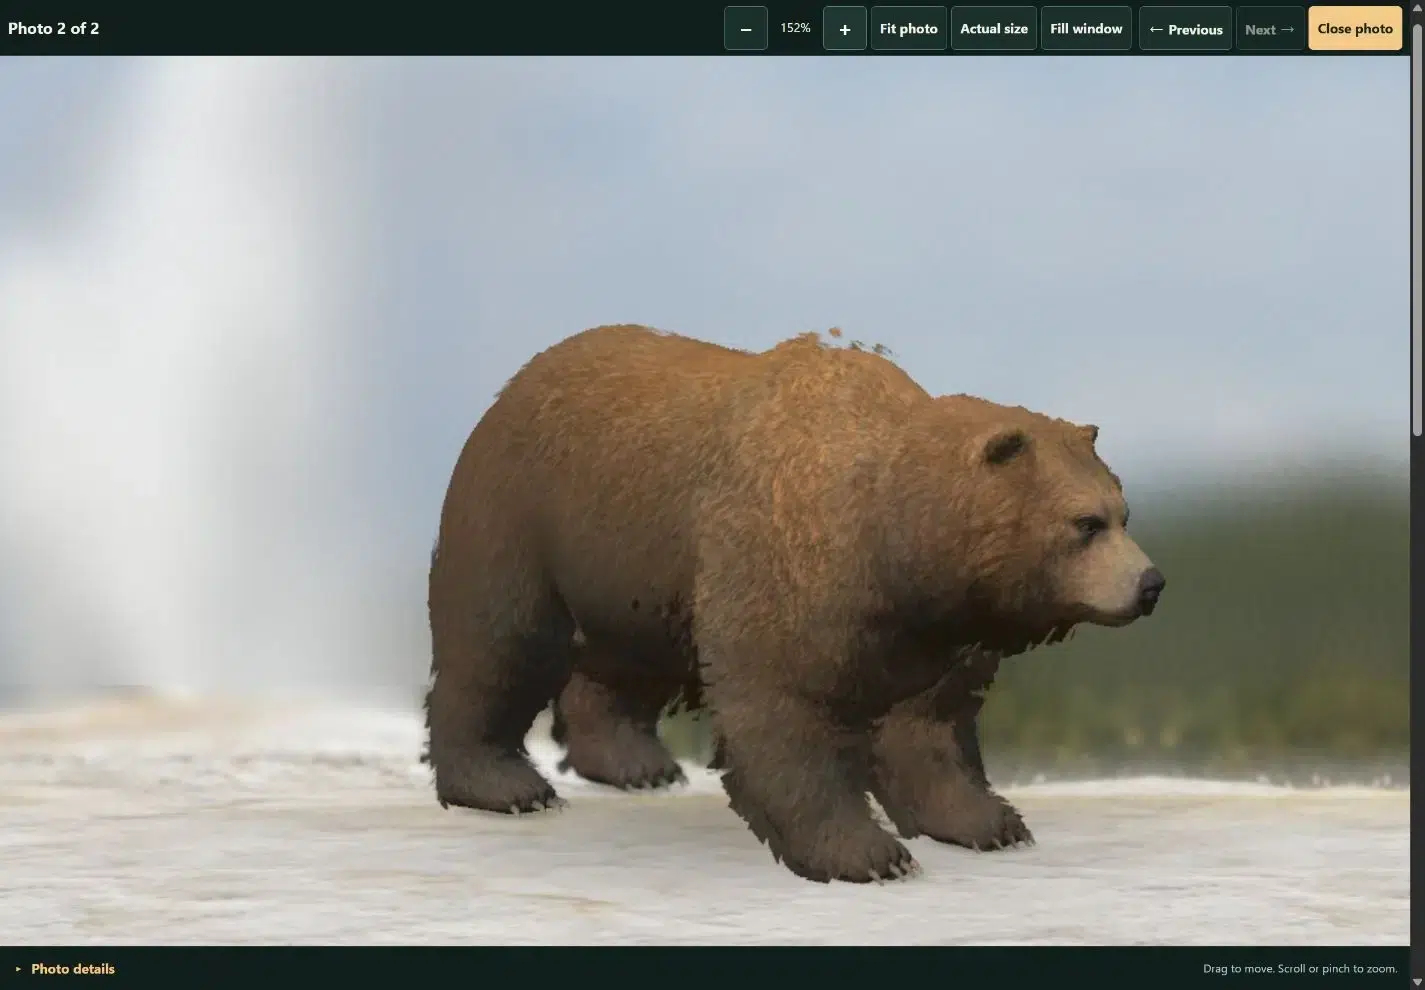
1/1000 s · f/2.8 · ISO 100Check whether the eye is sharp, then change one setting and try again.
Your practice photo · 1/1000 s · f/2.8 · ISO 100Make the connection
Drag the slider across the grizzly’s head. Compare the blur at 1/60 s with the sharper shot at 1/1000 s.
Drag the slider and watch the trees behind the grizzly. They’re softer at f/2.8 and clearer at f/11.
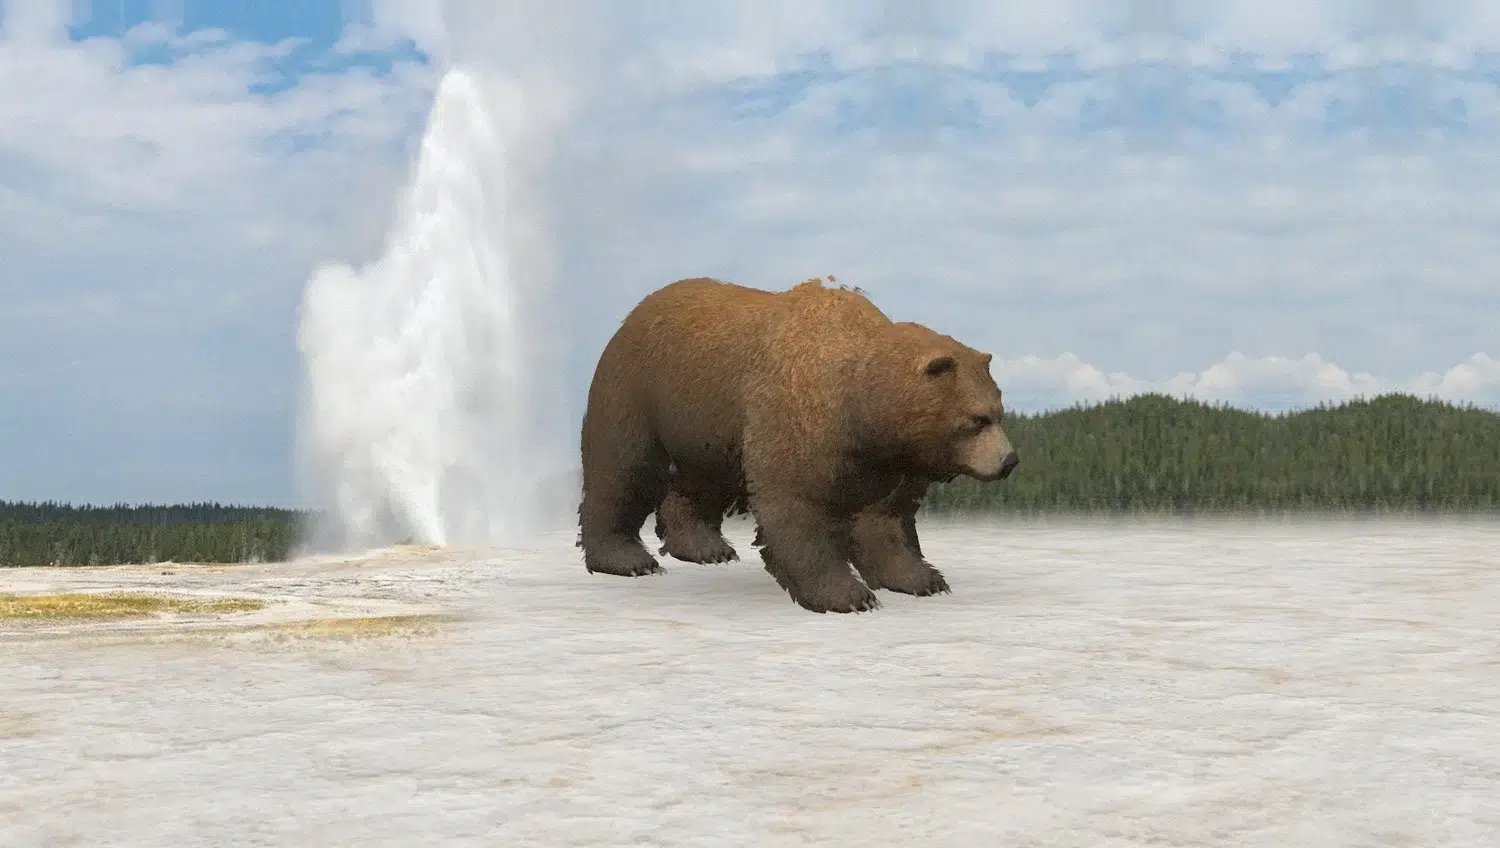
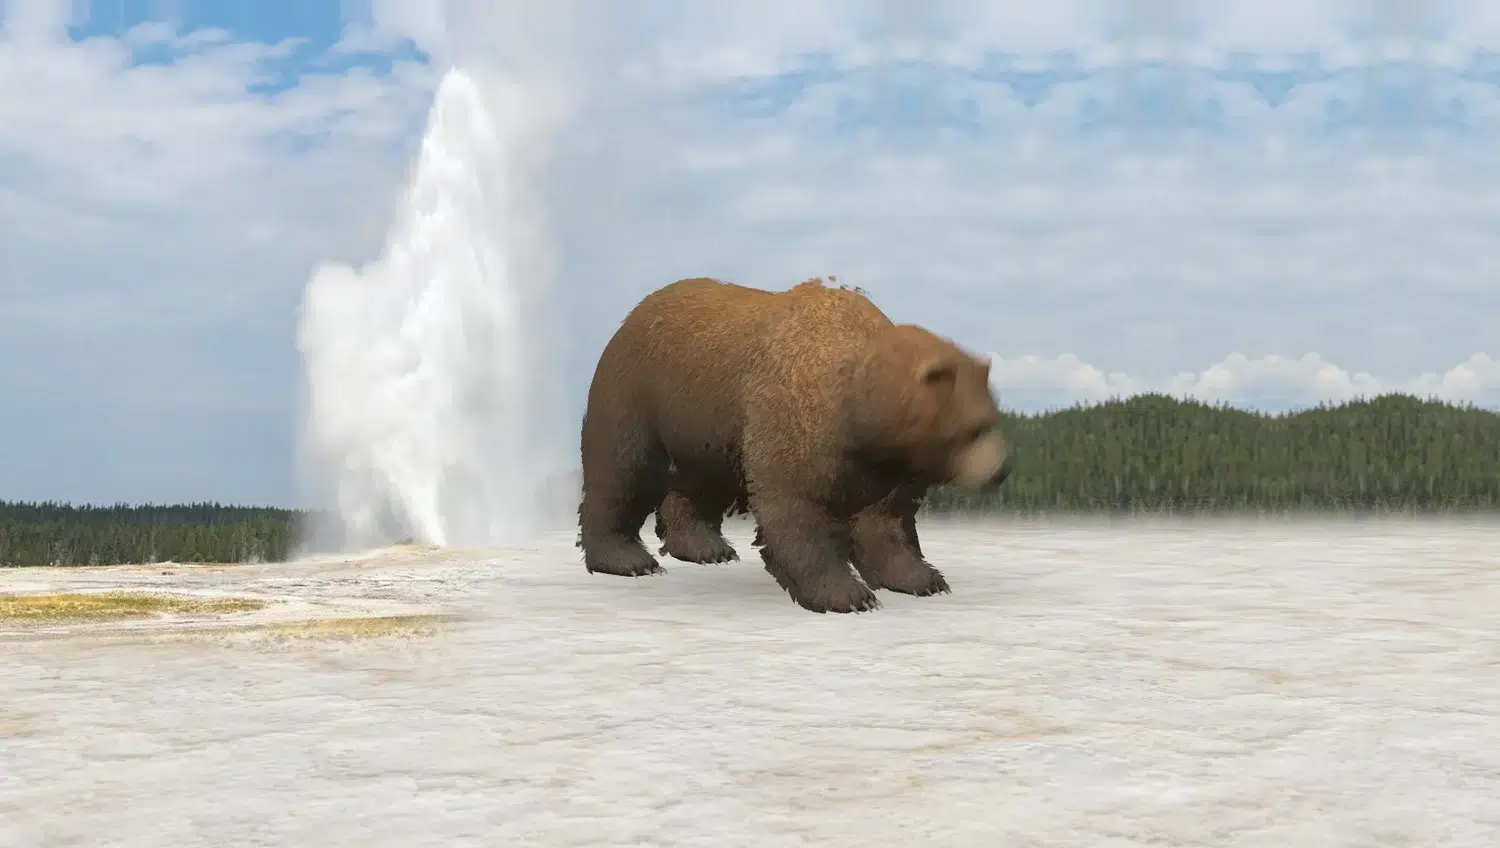
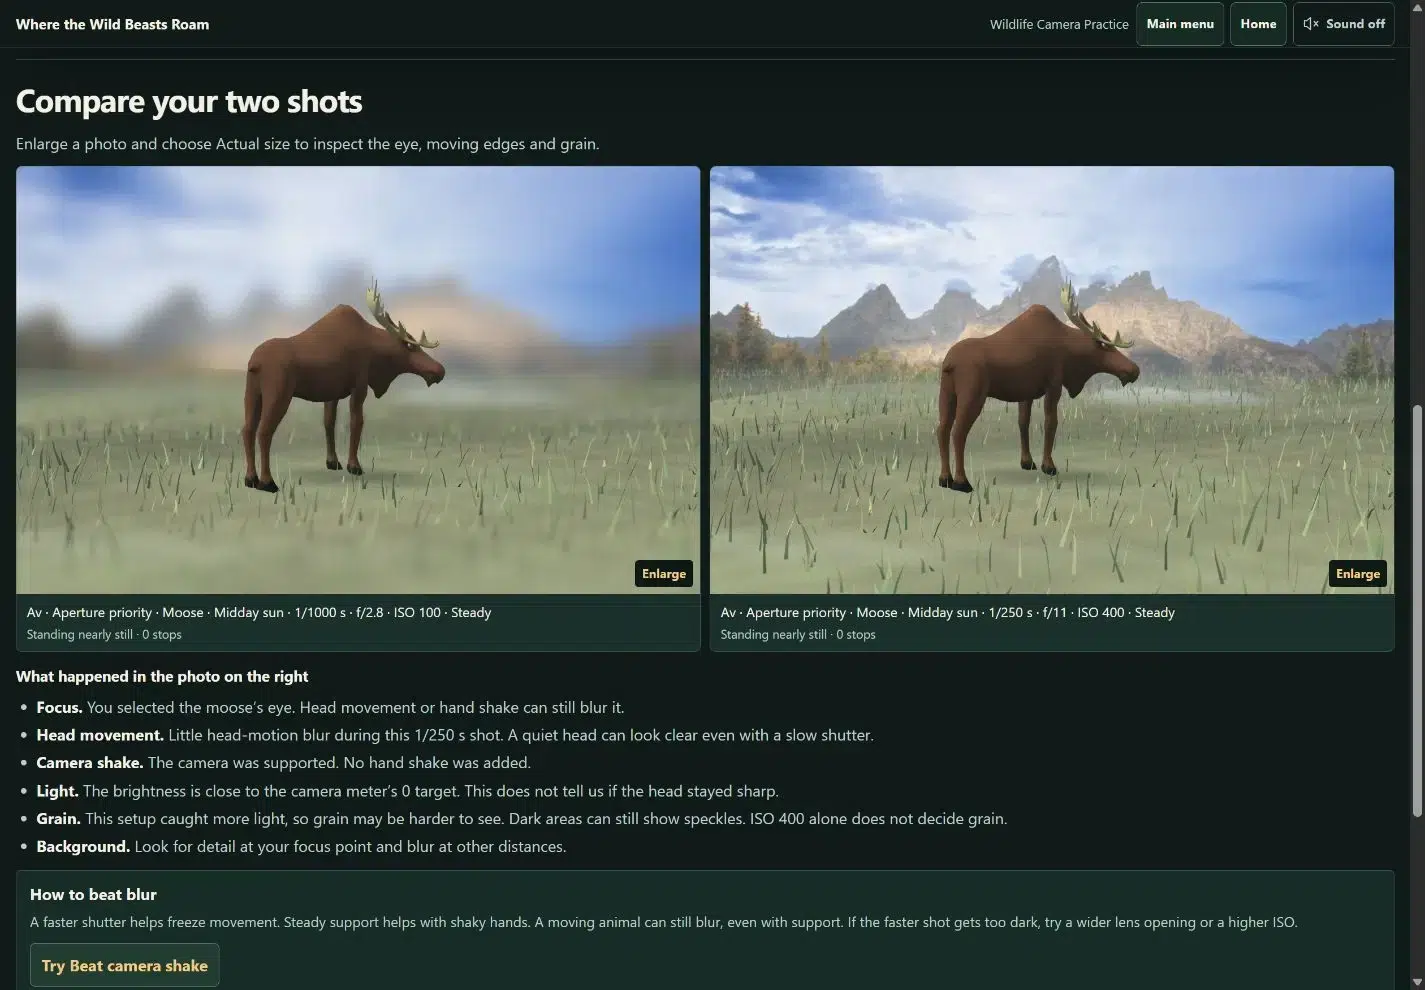
Actual game photos. Both at f/11; Auto ISO rises from 100 to 1600 to keep the brightness comparable.
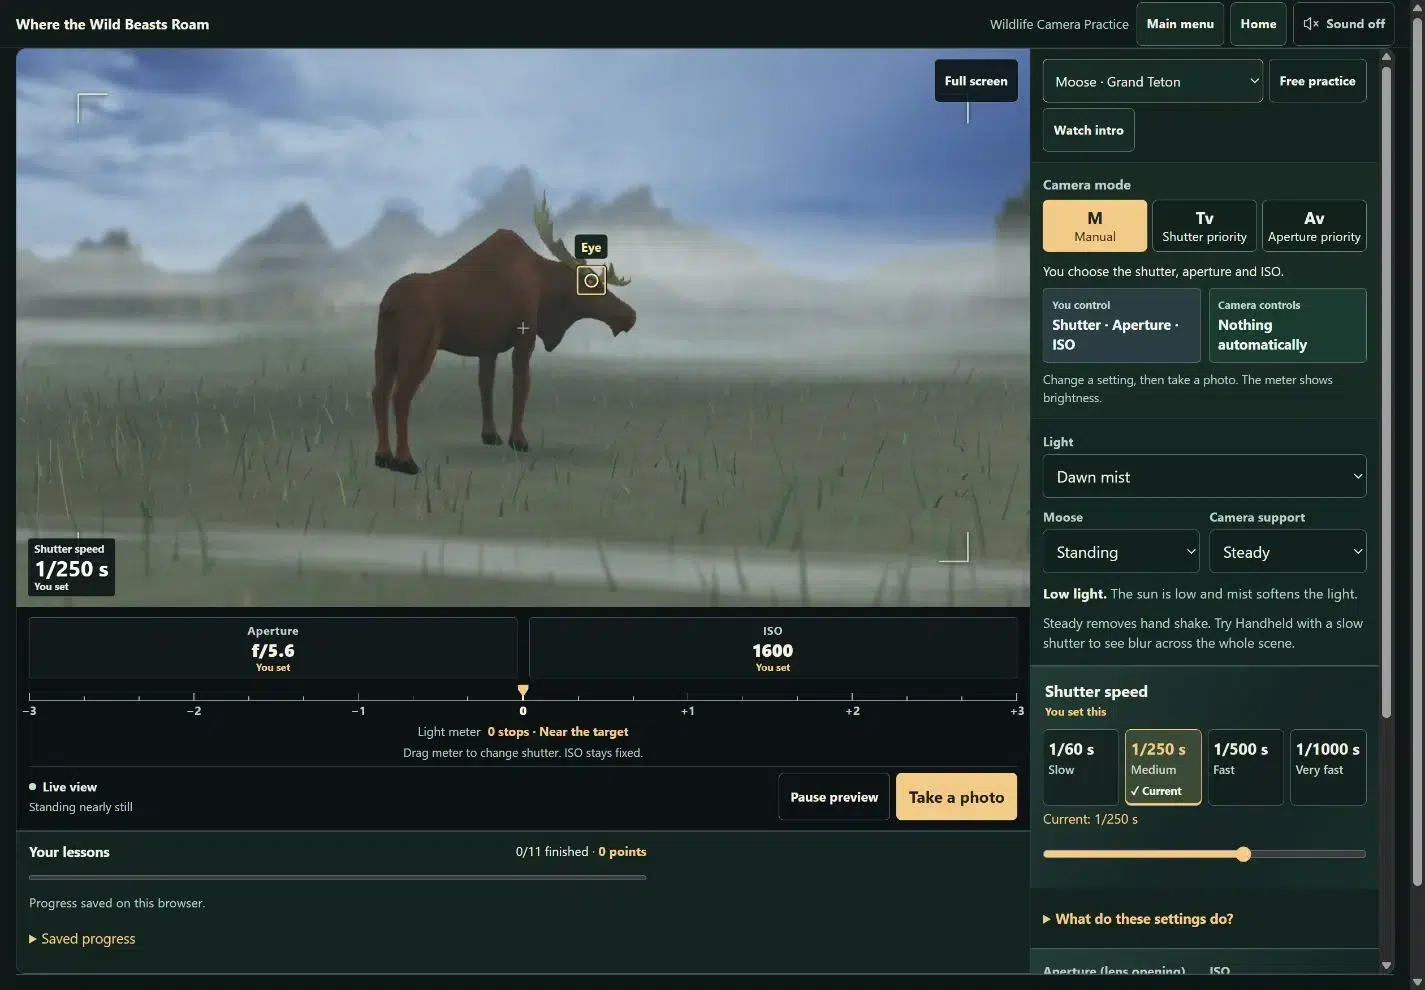
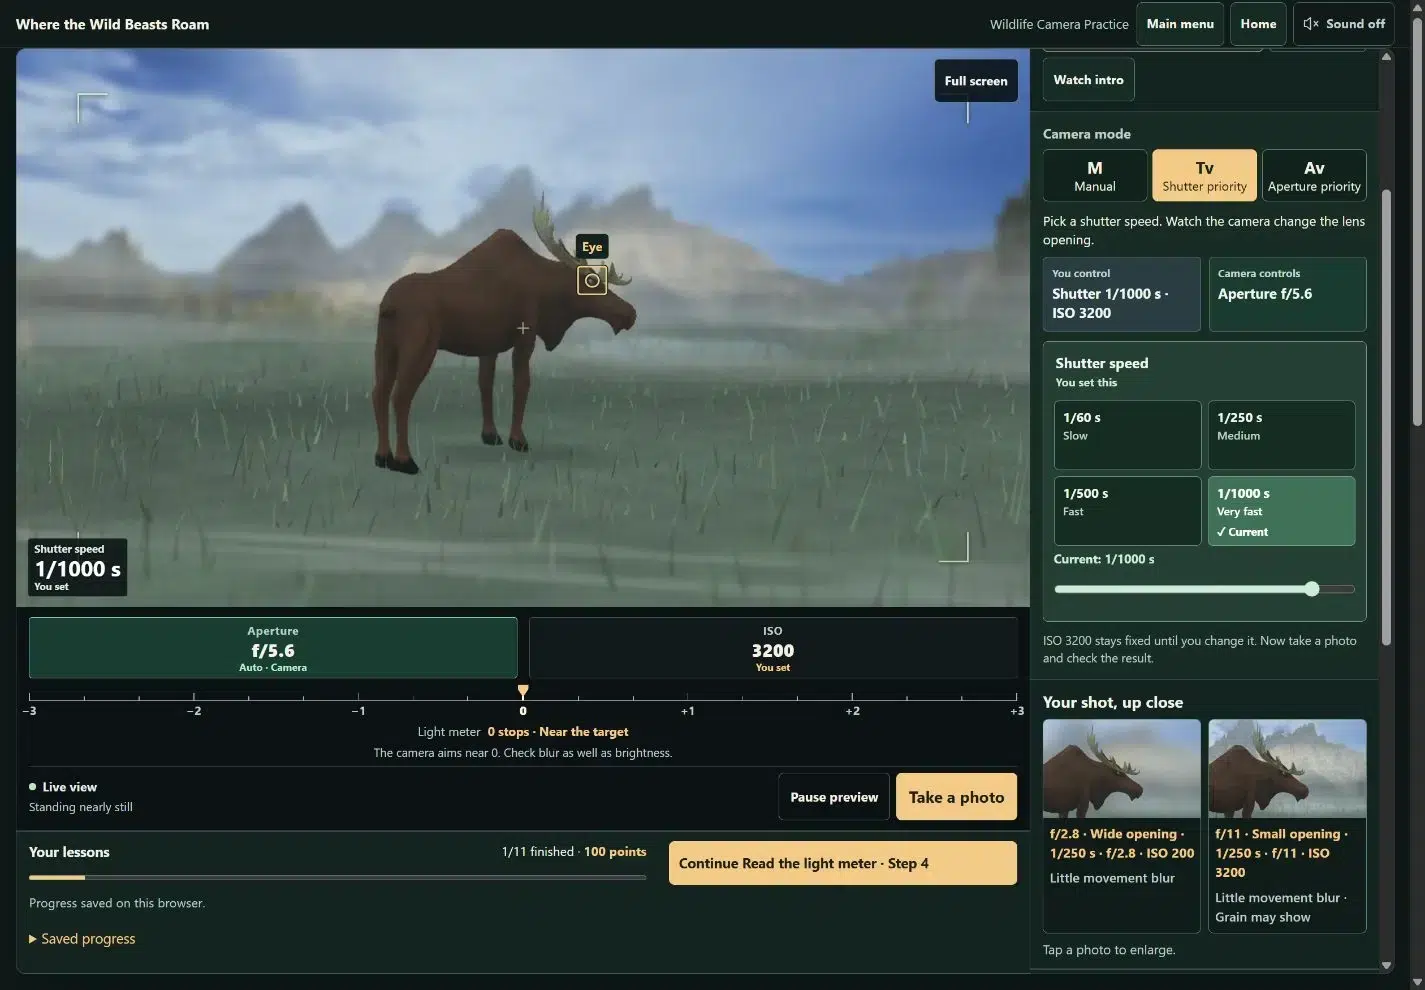
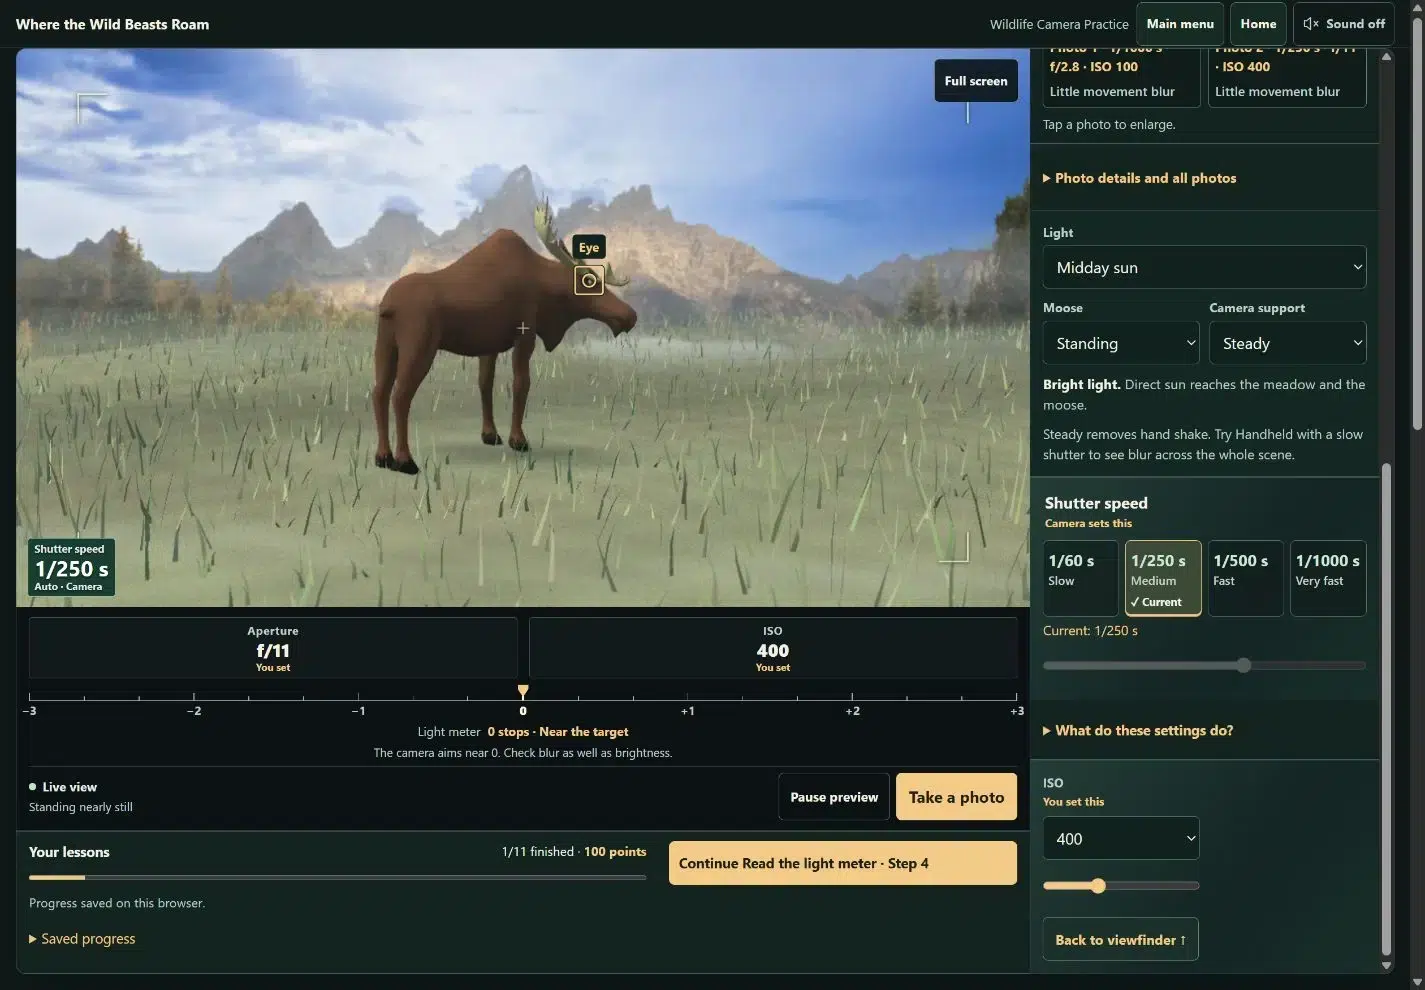
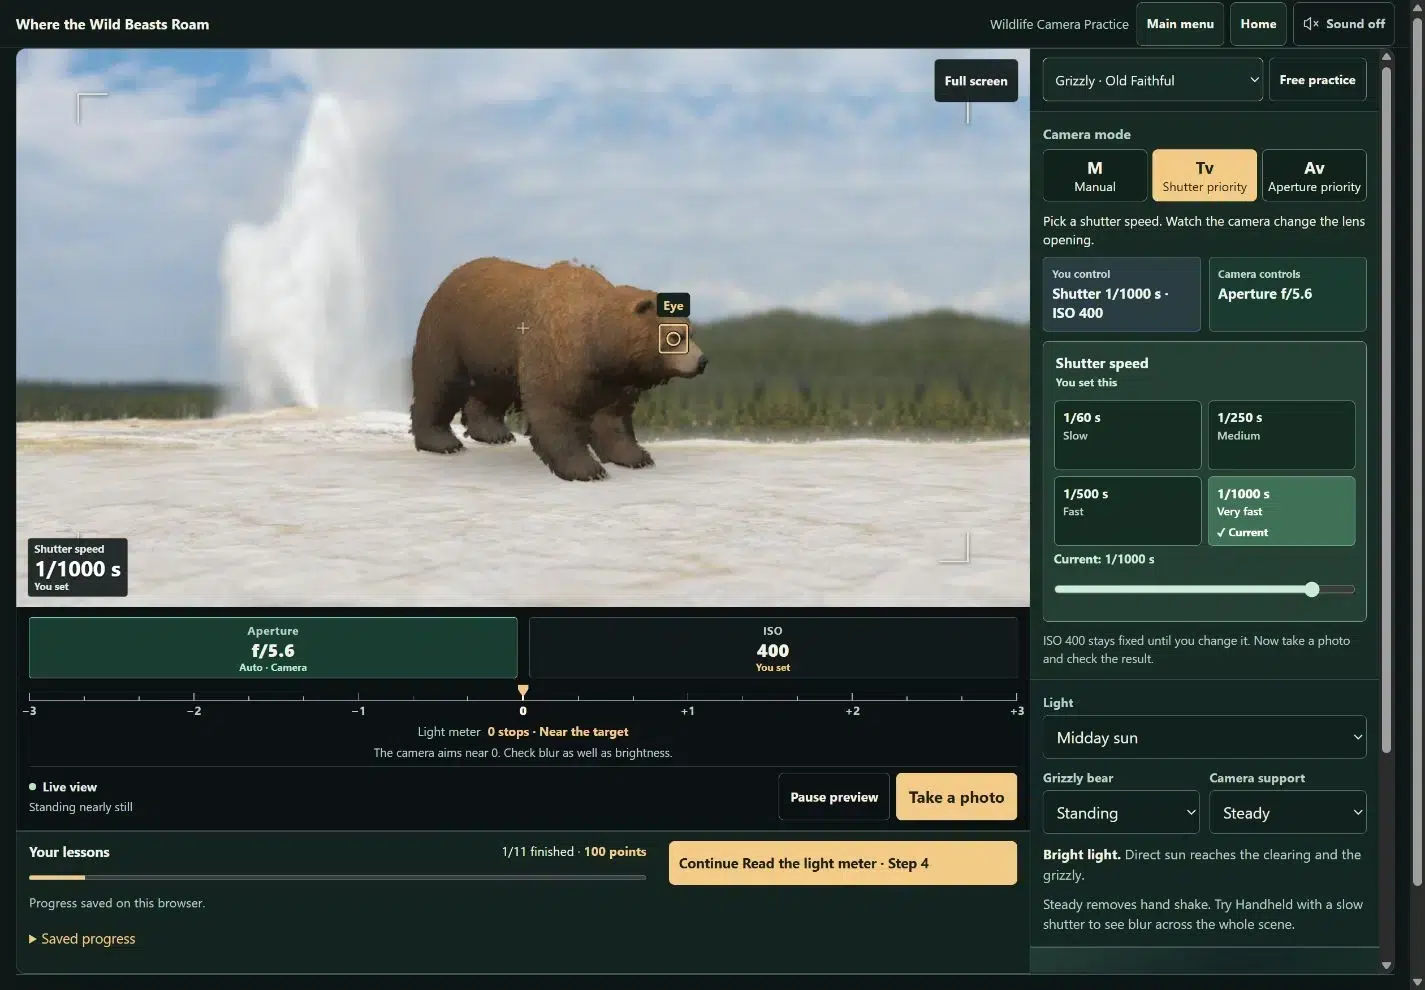
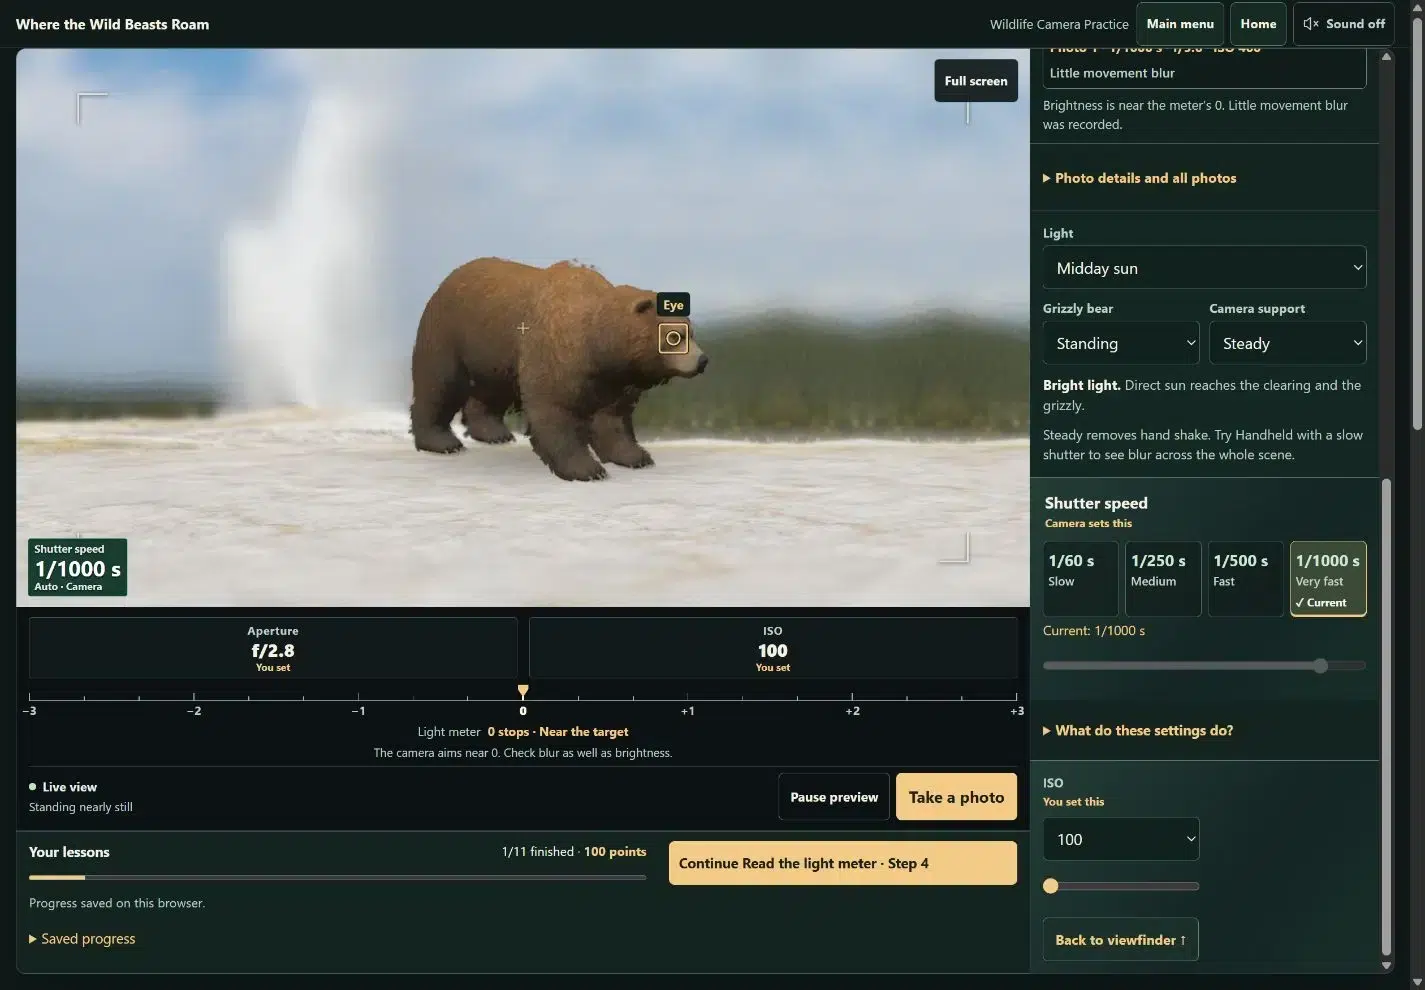
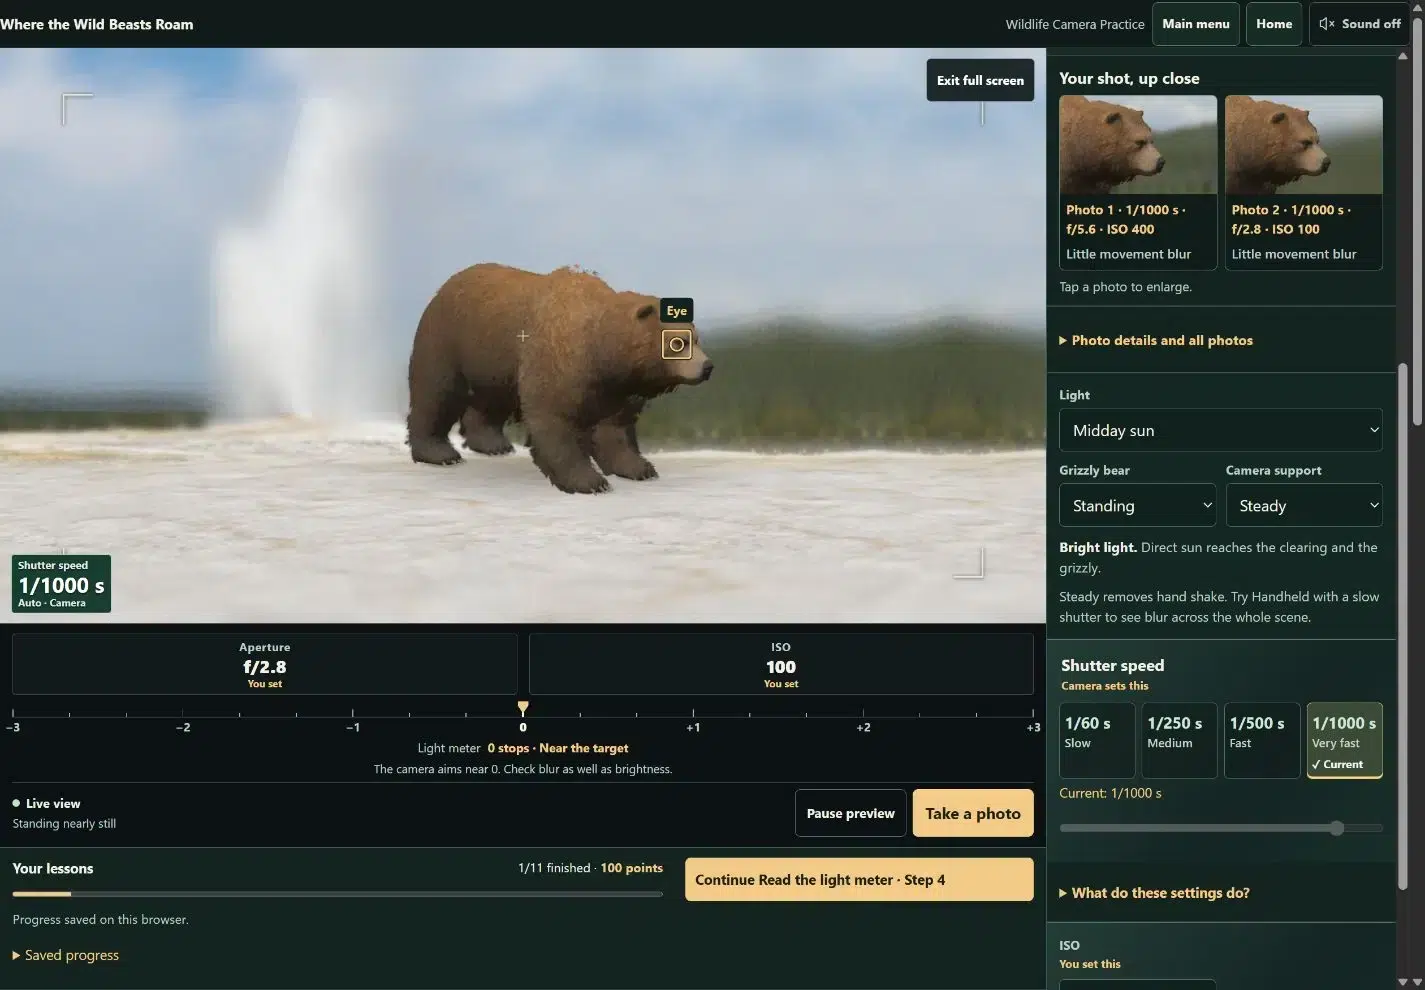
Actual game screens and photos.
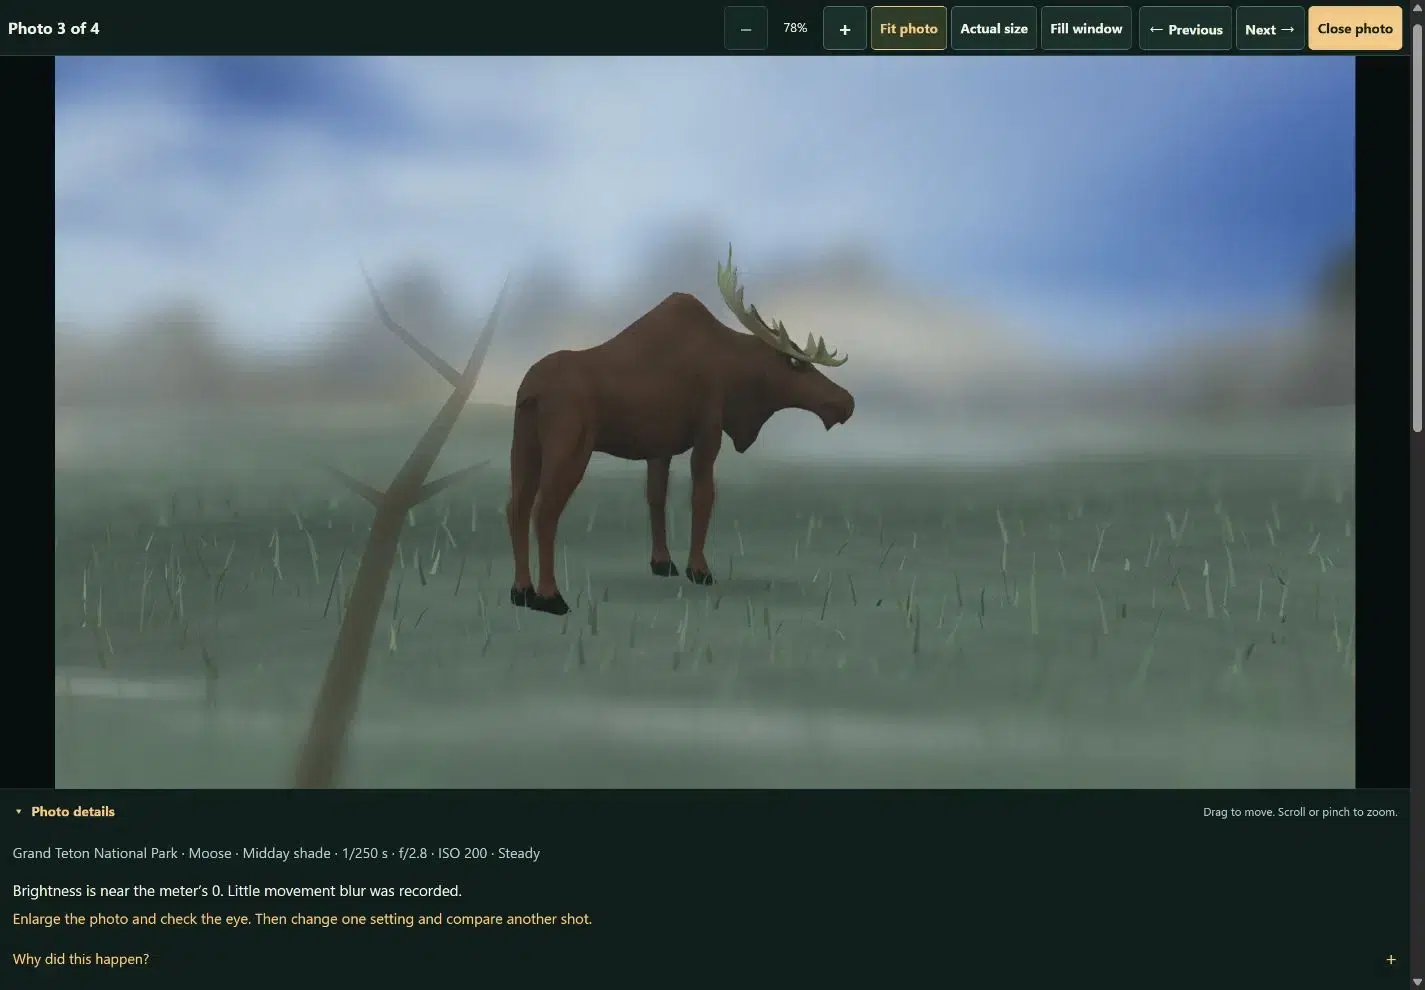
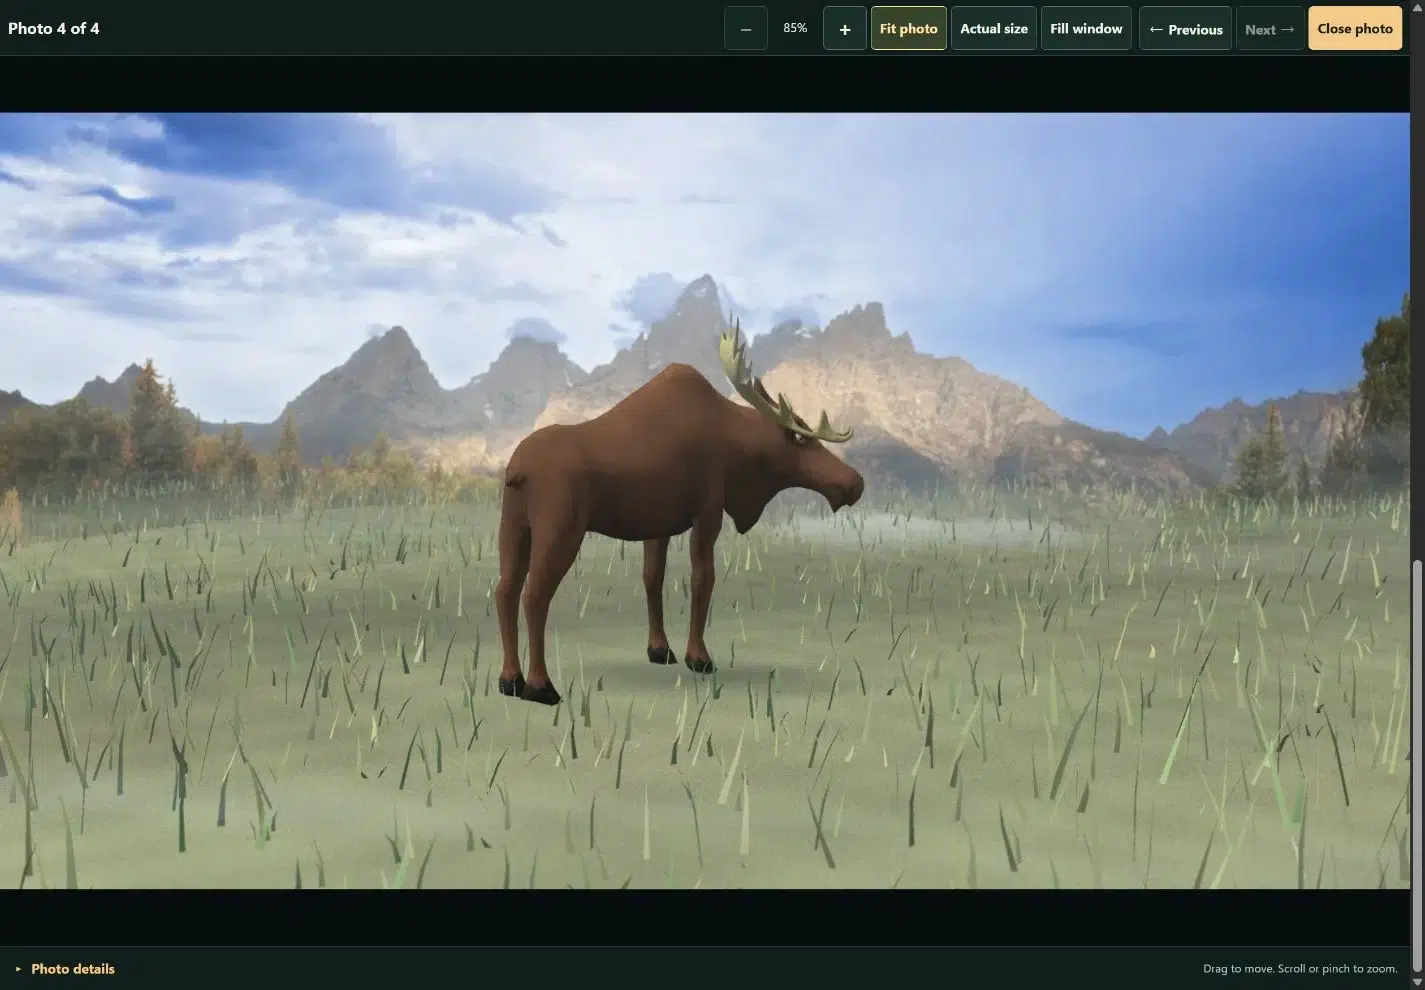
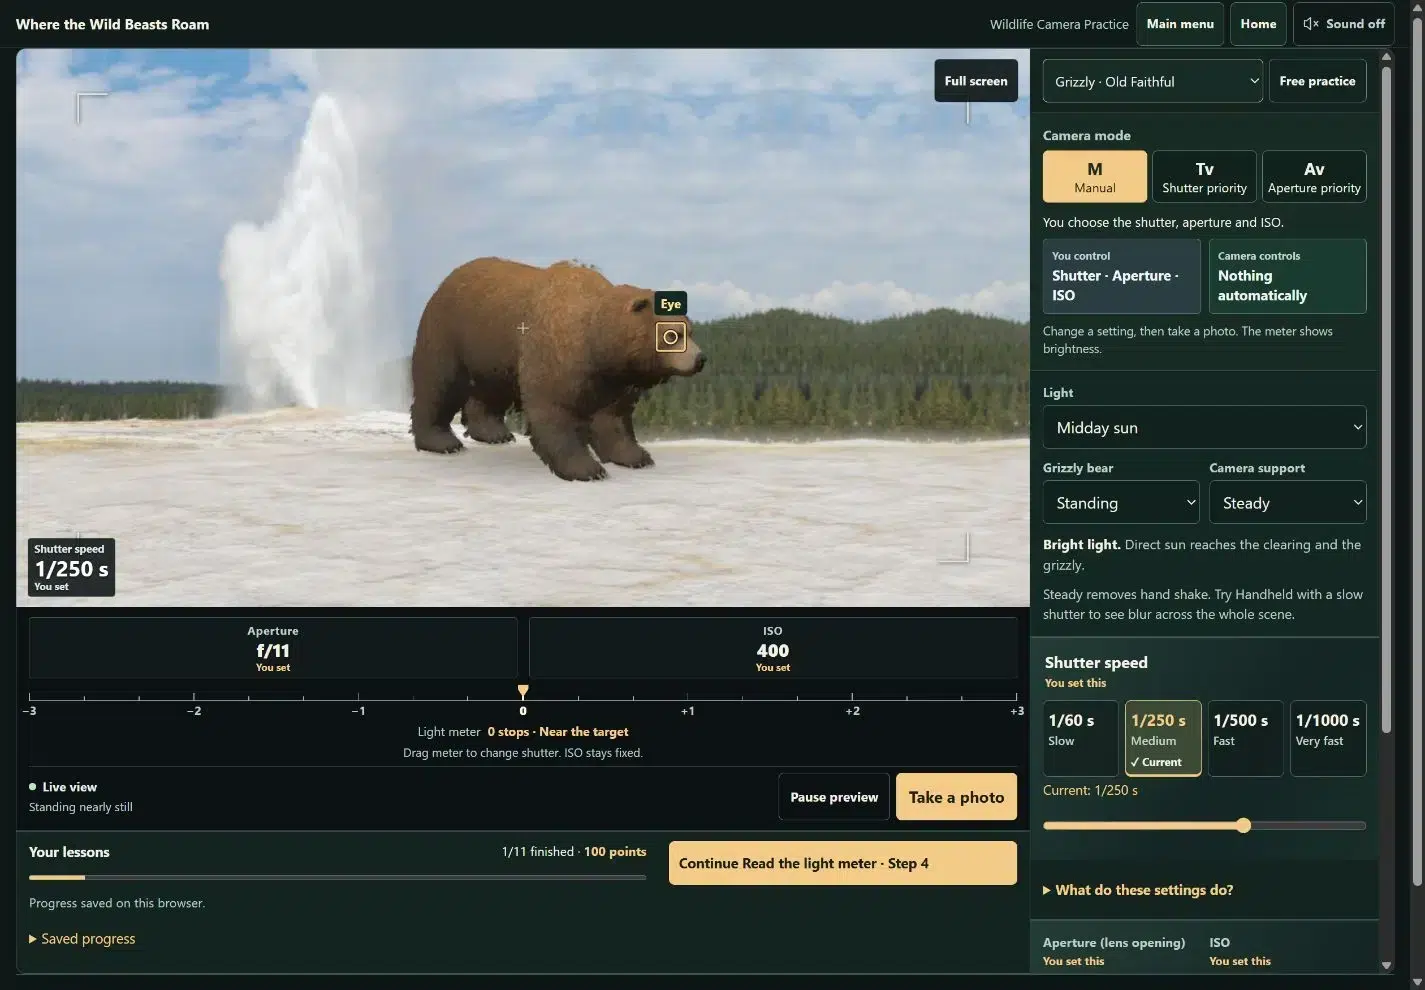
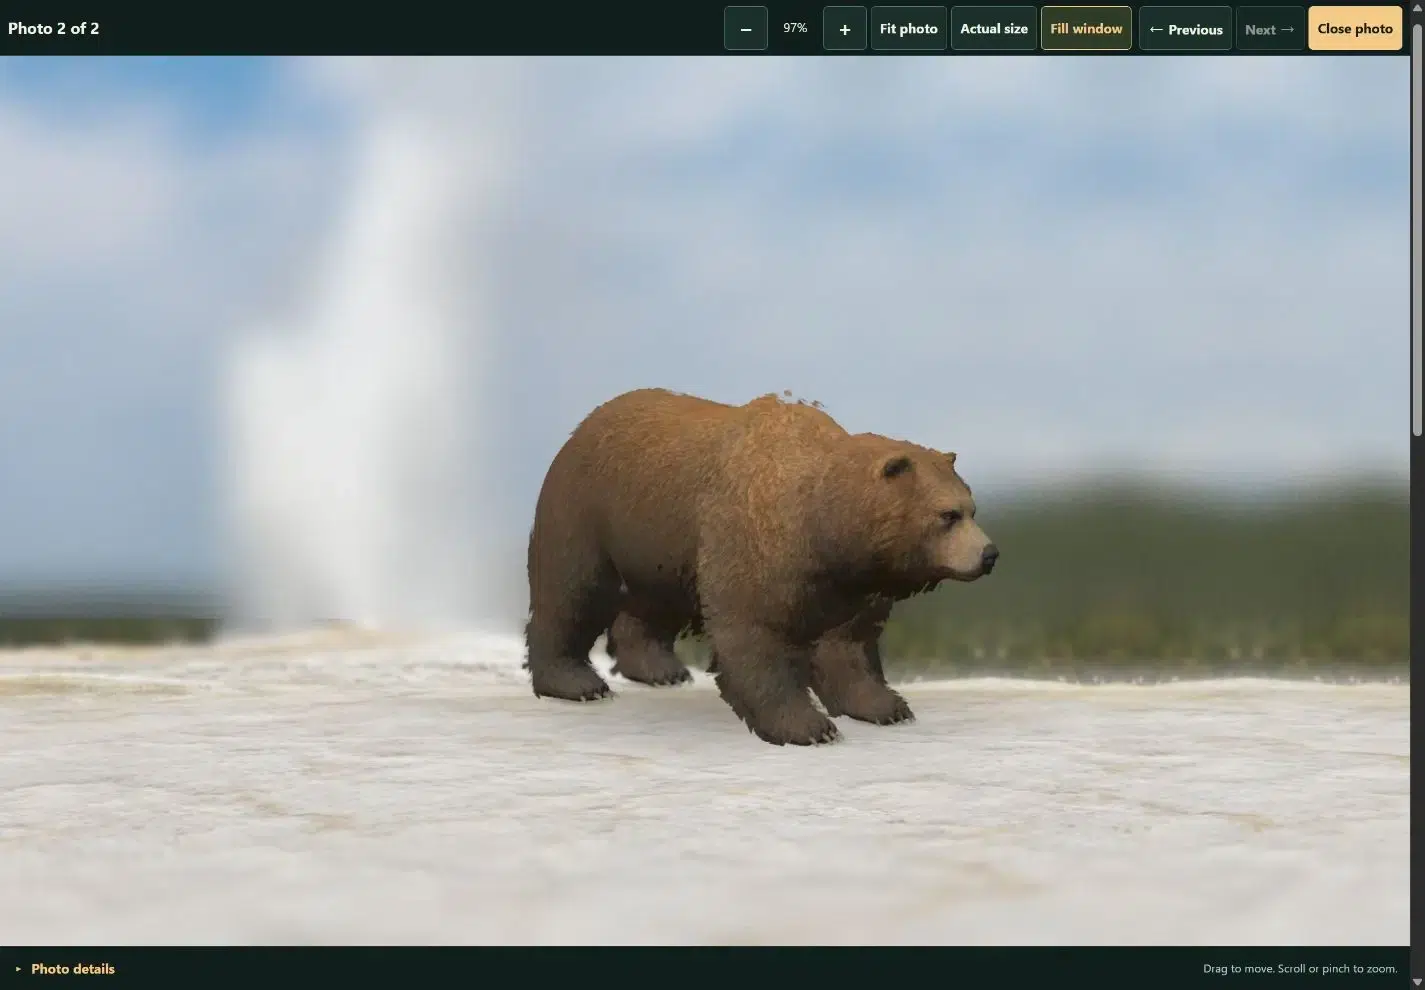

Practice on your phone or computer
Work through nine lessons on decisions like where to focus, when to wait for a pause and how to keep a moving animal sharp. The final challenge puts them together. You can also open practice mode and try your own settings.
Packy Savvenas Award-winning wildlife photographer
The planner + camera game
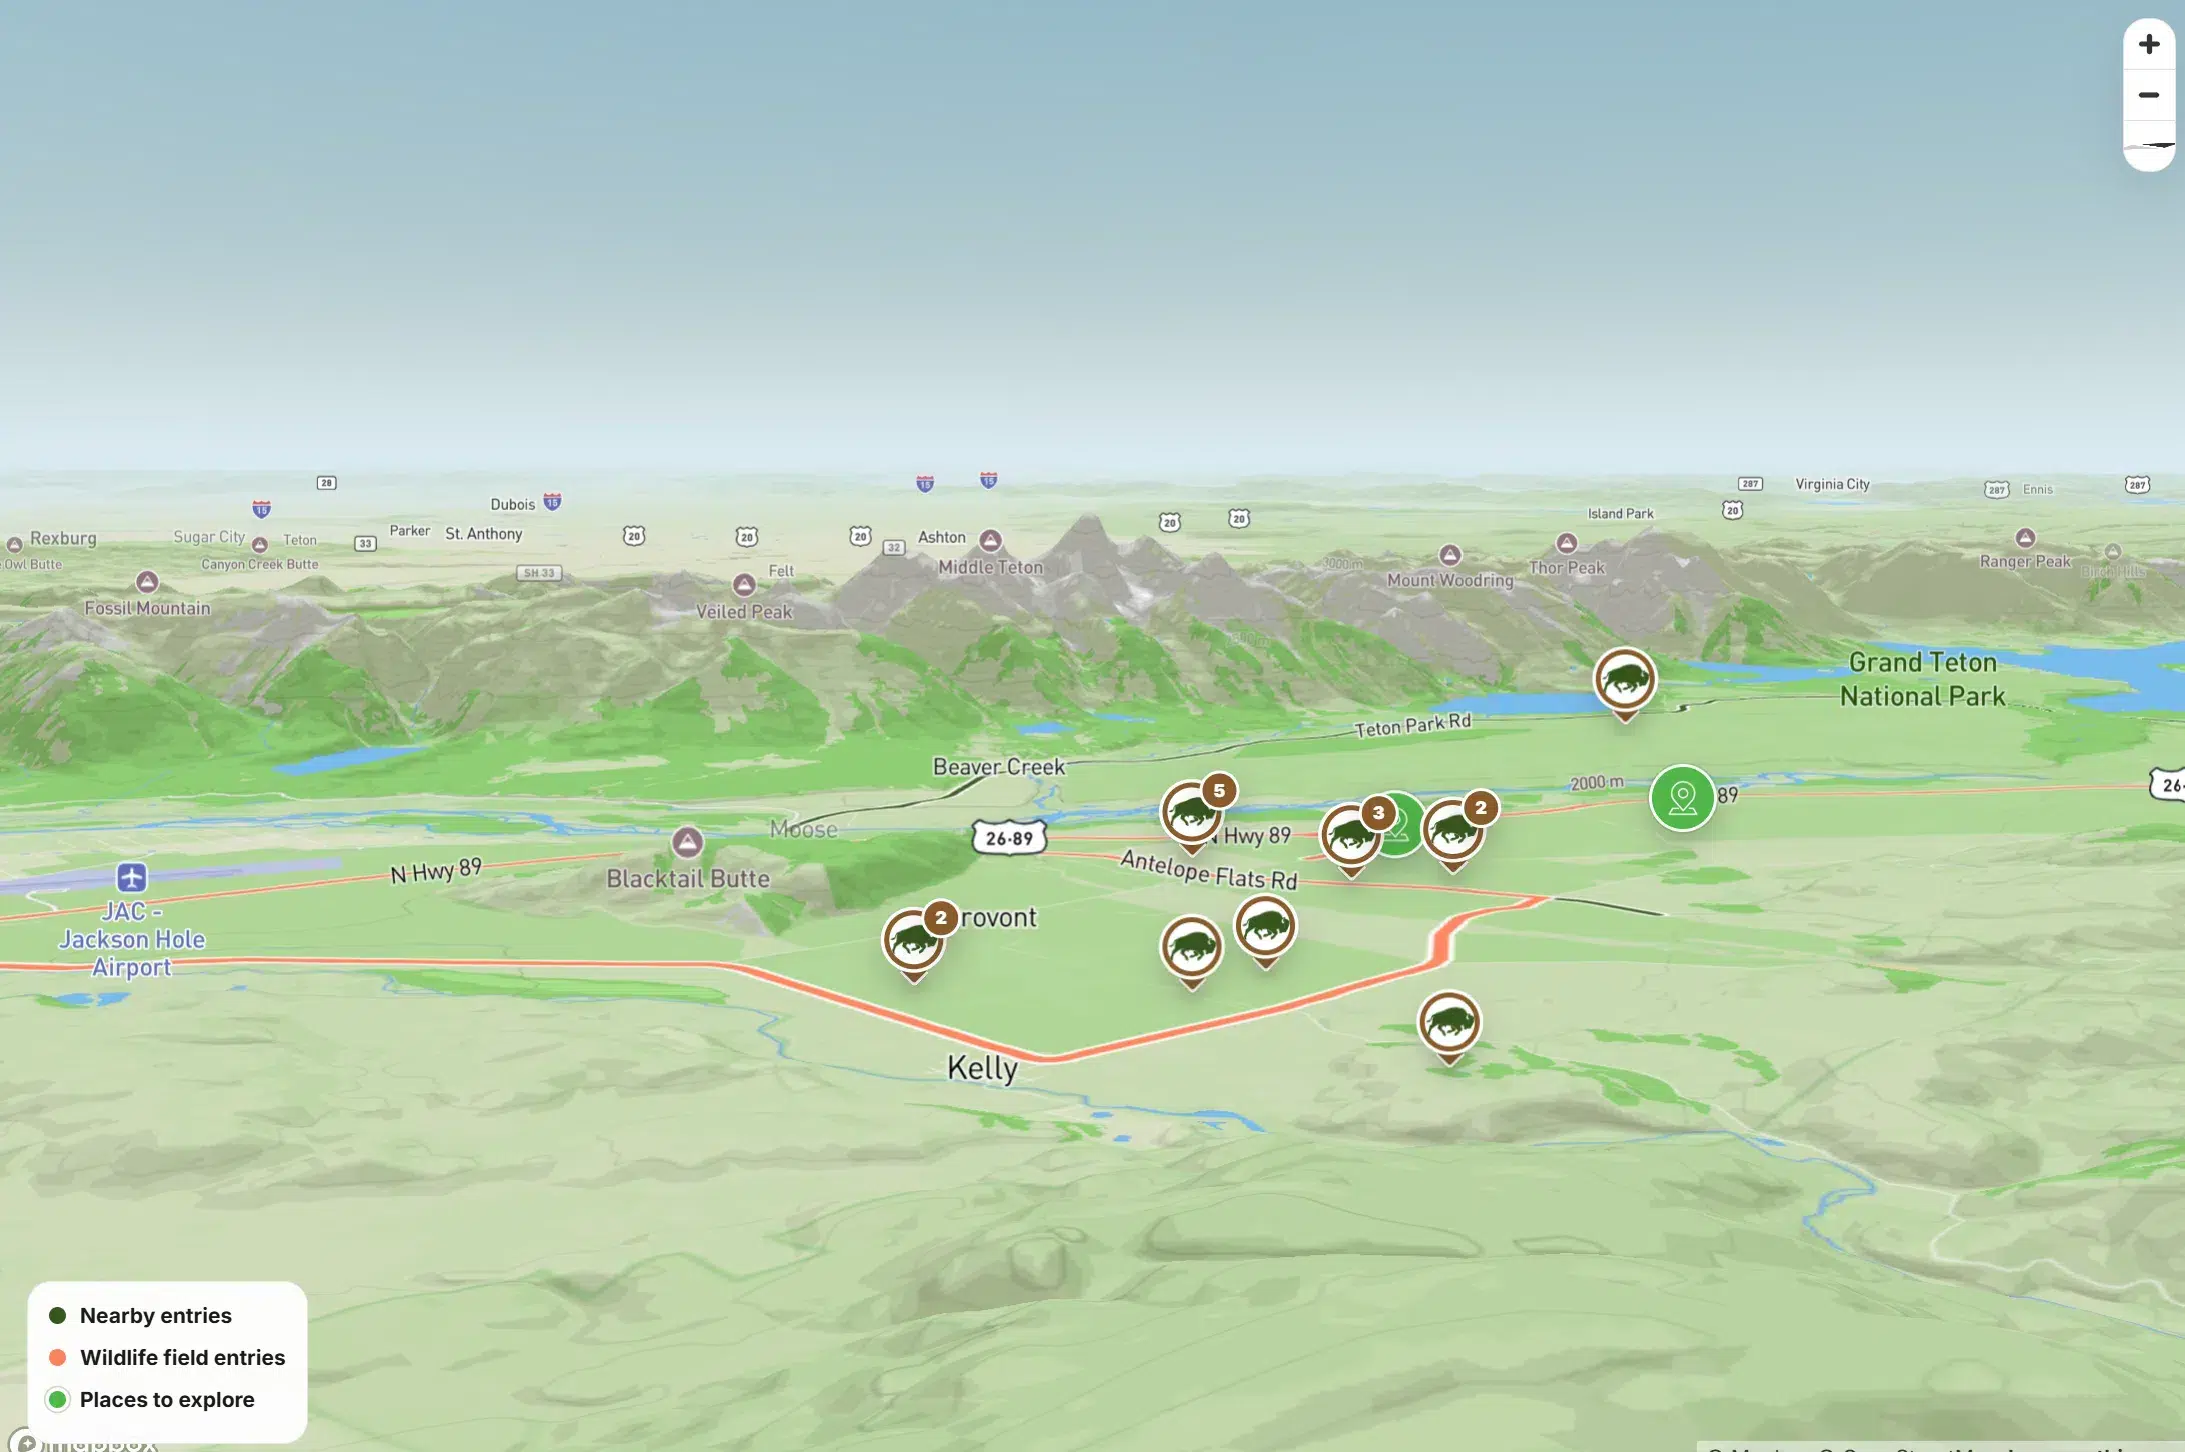
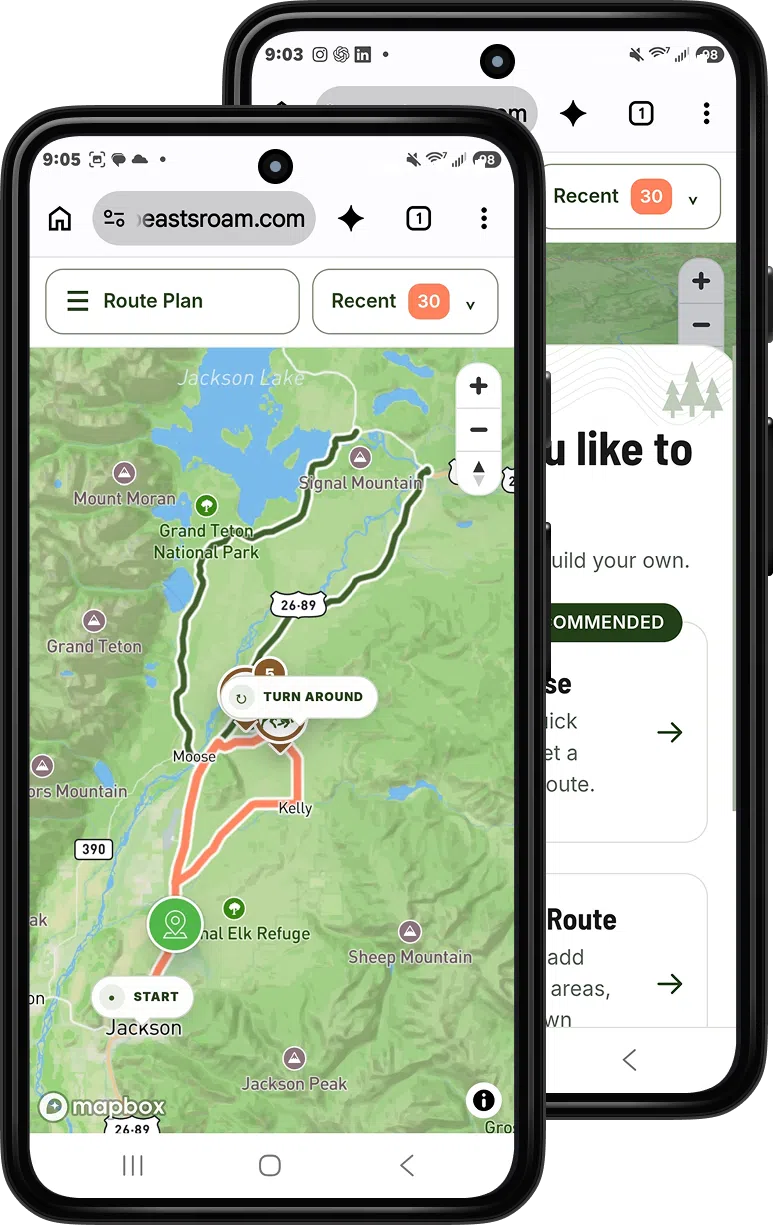
The Wildlife Planner helps you choose a road in Yellowstone or Grand Teton and gives you a backup if the first stop is quiet. Buy the planner for $9.99 once and you also get this game and both downloadable field guides.
Get the Wildlife Planner See how the planner worksMap imagery © Mapbox · © OpenStreetMap. Sightings are never guaranteed.
Before you jump in
All the controls are on screen. You can practice with the game on a phone or computer.
Return in the same browser on the same device. That’s where your lesson progress is saved.
Yes. Open practice mode to experiment with the settings on your own.
